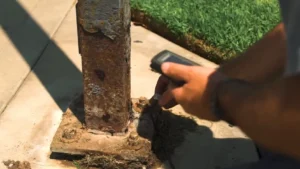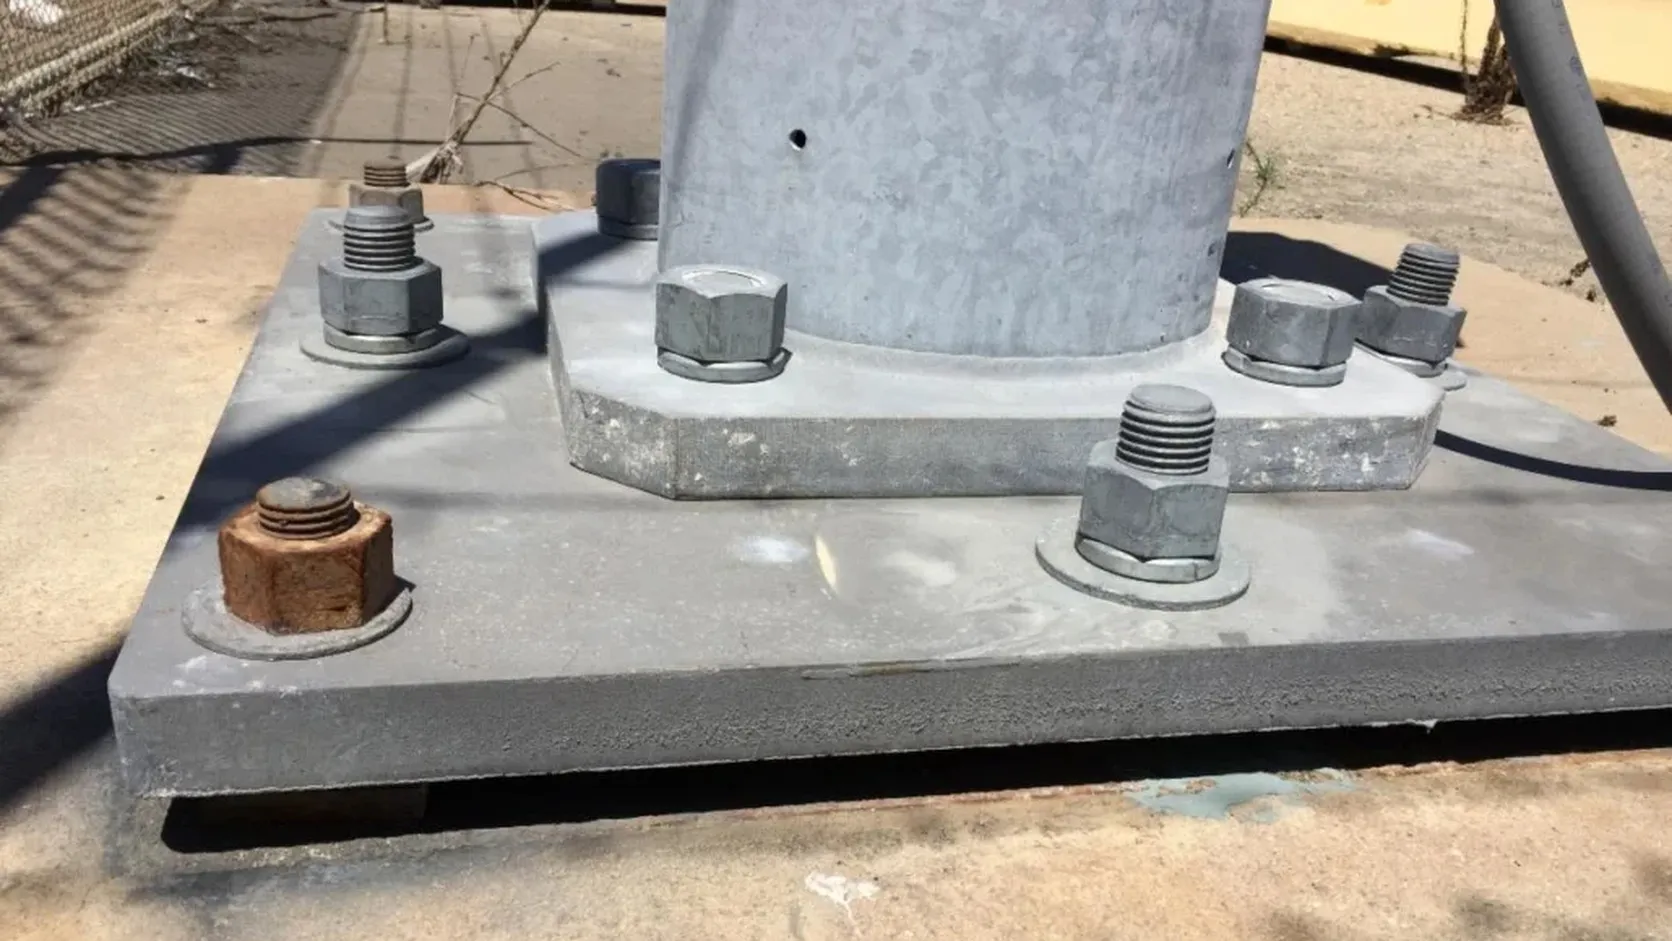
When light pole anchor bolts become badly rusted, damaged, or unusable, replacing the entire concrete footing is not always the only option.
In some applications, new anchor bolts for concrete can be installed into an existing concrete footing using threaded rod and an approved anchoring adhesive. This can provide a practical solution when the existing footing remains structurally sound but the original anchor bolts can no longer be used.
The exact installation requirements depend on the pole, footing, anchor bolt size, loads, concrete condition, adhesive anchoring system, and project engineering. Always follow the project specifications and the current installation instructions provided by the adhesive manufacturer.
Before Installing New Anchor Bolts, Evaluate the Existing Condition
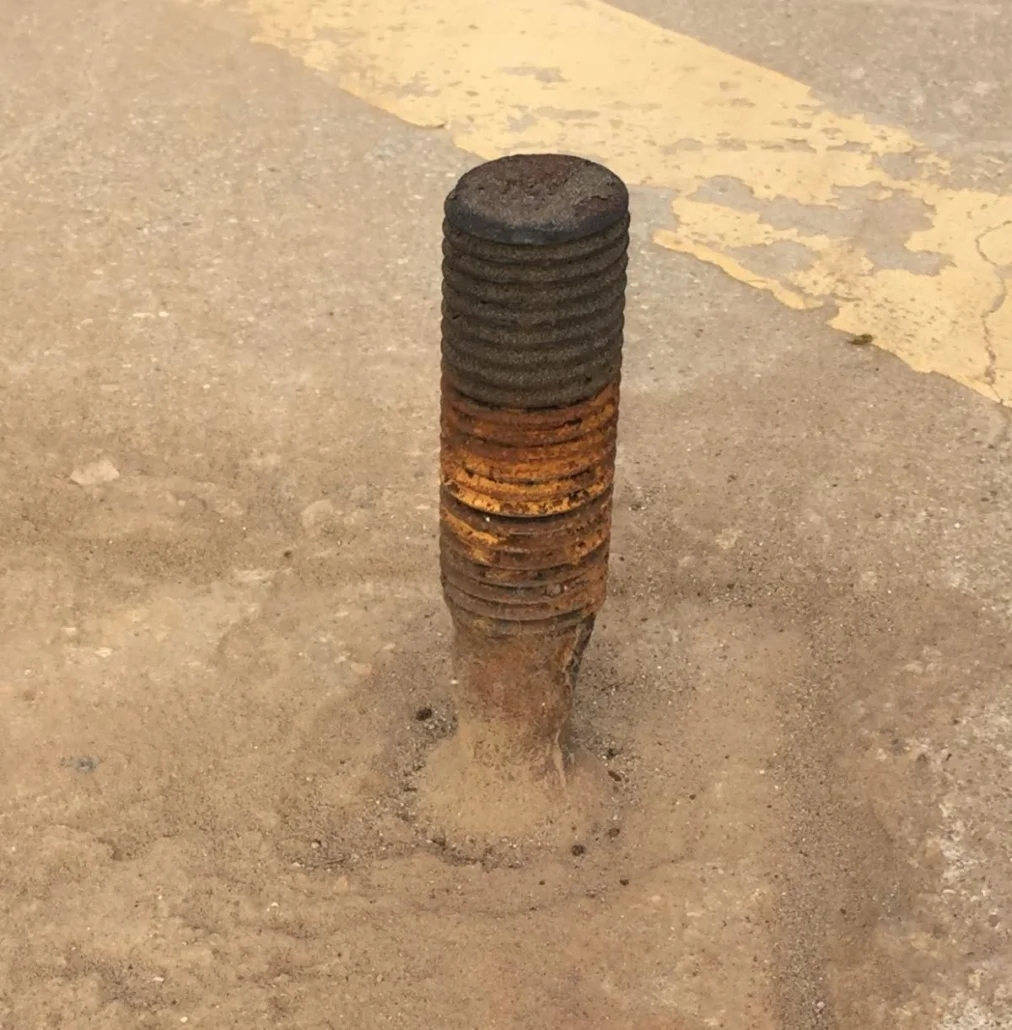
Before drilling new holes into an existing footing, determine what is actually preventing the light pole from being installed correctly.
Not every anchor bolt problem requires new epoxy-set anchors.
If the existing anchor bolts are structurally sound but the bolt pattern does not match the new light pole base plate, an Anchor Bolt Adapter may allow the pole to be installed without replacing the footing.
If the existing anchor bolts are simply too short but still have usable threads and are otherwise structurally sound, a Thread Extender may be another option.
For certain applications involving corrosion or damage at the base of the pole, a Pole Repair Kit may also provide an alternative to complete pole replacement.
When the existing anchor bolts cannot be reused and the footing is suitable for modification, installing new anchor bolts into the existing concrete may be an appropriate solution.
The upcoming AT.75 and AT1 kits are being developed to provide a pre-engineered solution for installing new anchor bolts into suitable existing concrete footings. Final specifications, load ratings, and product availability will be published once engineering is complete.

Tools Required to Install Anchor Bolts in Existing Concrete
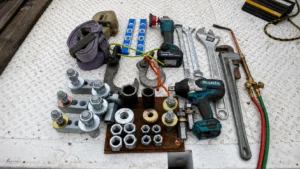
The specific tools required will depend on the anchor size and anchoring adhesive being used. Typical equipment includes:
- Hammer drill
- Properly sized concrete drill bit
- Shop vacuum
- Dust-extraction attachment
- Air compressor with a nozzle capable of reaching the bottom of the drilled hole
- Round hole-cleaning brush sized for the drilled hole
- Approved anchoring adhesive for threaded rod in concrete
- Adhesive dispensing tool designed for the selected cartridge
- Measuring tape
- Hole-layout template, when appropriate
- Tools required for cutting threaded rod
- Wrenches and installation hardware
Do not assume that one drill-bit diameter, hole depth, or cleaning procedure applies to every adhesive anchoring system. Confirm these requirements before drilling.
Safety and Cleanup Equipment
Concrete drilling and adhesive installation require appropriate safety precautions.
Typical protective and cleanup equipment includes:
- Safety glasses
- Gloves
- Appropriate respiratory protection
- Hearing protection when required
- Paper towels or disposable rags
- Trash bags
- Dust-control equipment
Follow applicable job-site safety requirements and the safety information provided by the equipment and adhesive manufacturers.
Parts and Materials
Typical materials for installing new anchor bolts into an existing concrete footing include:
- Properly specified all-thread rod
- Nuts
- Washers
- Approved structural anchoring adhesive
- Any adapter plate or mounting hardware required for the final light pole installation
The threaded-rod diameter, material, grade, embedment depth, edge distance, spacing and other installation requirements should be determined by the applicable project specifications and engineering requirements.
How to Install Anchor Bolts in an Existing Concrete Footing
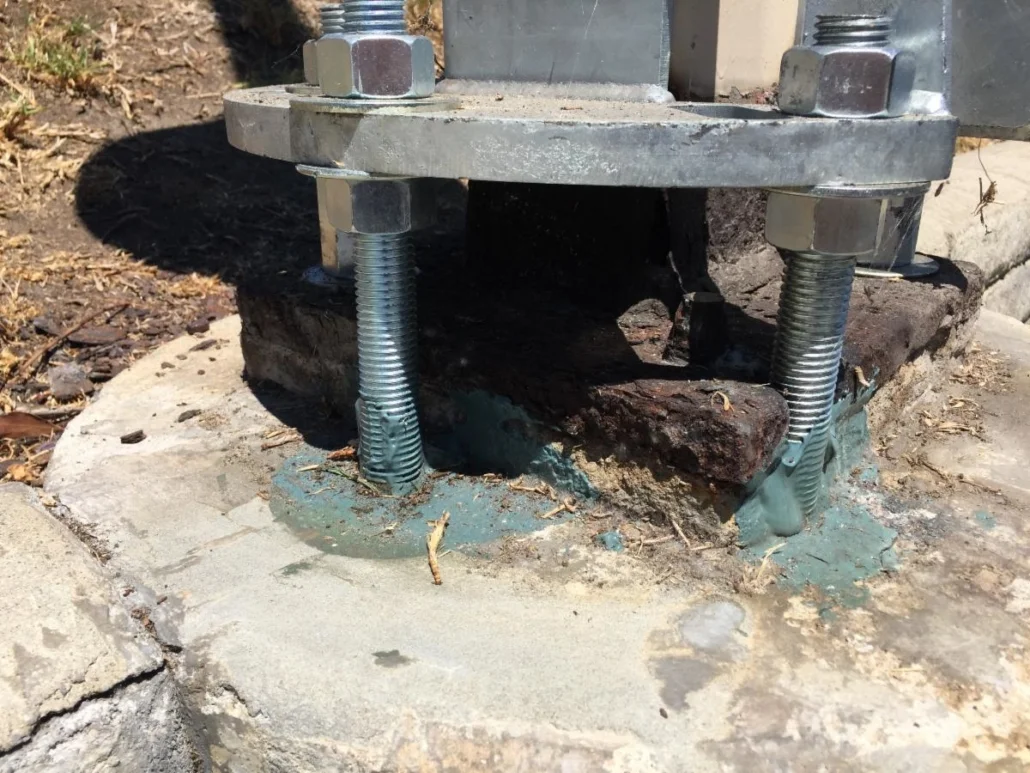
The following provides a general overview of the process. It is not a substitute for engineered project requirements or the adhesive manufacturer’s current installation instructions.
1. Inspect the Existing Footing
Before drilling, verify that the existing concrete footing is suitable for reuse.
Look for conditions such as:
- Major cracking
- Spalling
- Significant deterioration
- Damage around the existing anchor bolts
- Evidence that the footing has shifted or failed
Installing new anchor bolts does not correct a structurally compromised footing.
2. Confirm the New Anchor Bolt Layout
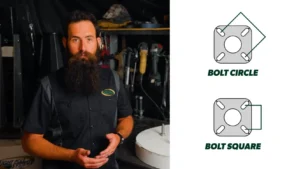
Before drilling, confirm whether the required layout is based on a bolt circle or bolt square. See our guide to light pole bolt patterns for measurement details.
Determine where the new anchor bolts need to be positioned based on the new pole base plate, adapter plate, or engineered mounting configuration.
Carefully mark each hole location.
Whenever possible, use a rigid template to maintain the correct bolt pattern and prevent layout errors.
If you are unfamiliar with how a light pole base plate connects to the anchor bolts and concrete foundation, our article on how steel light poles are made provides additional background on the pole and base-plate assembly.
3. Confirm Drill Size and Required Hole Depth
Before drilling, verify:
- Threaded-rod diameter
- Required drill-bit diameter
- Required embedment depth
- Minimum spacing between anchors
- Edge-distance requirements
- Required thread projection above the footing
These dimensions should come from the project design and the installation requirements for the anchoring adhesive being used.
Do not rely on a general rule of thumb for structural anchor embedment.
If you need to verify the existing hardware first, see our guide on how to measure light pole anchor bolt size.
4. Drill the Anchor Bolt Holes
Using a hammer drill and the specified drill bit, drill each hole to the required depth.
A template can help keep the drill centered and maintain the proper bolt pattern. A shallow pilot hole may also help keep the drill bit from walking when drilling begins.
Use dust extraction during drilling whenever possible to reduce airborne concrete dust and help keep the work area clean.
5. Thoroughly Clean Each Hole
Proper hole preparation is critical when installing adhesive anchor bolts.
Concrete dust and loose material left inside the hole can interfere with the adhesive’s ability to bond to the concrete.
Use the exact cleaning procedure required by the adhesive manufacturer. Depending on the specified anchoring system, this may include a combination of:
- Blowing loose material from the hole
- Brushing the inside walls with the properly sized hole-cleaning brush
- Blowing or vacuuming the hole again
- Repeating the required sequence until the hole is properly prepared
The air nozzle and brush must be capable of reaching the required depth of the hole.
For current product-specific requirements, refer directly to the anchoring adhesive manufacturer’s installation instructions.
6. Prepare the All-Thread Rod
Cut each threaded rod to the required length.
The rod needs sufficient embedment into the footing while also providing the proper amount of exposed thread above the concrete for the pole, adapter plate, washers and nuts.
Before dispensing adhesive, confirm that each rod is:
- The correct diameter
- The correct length
- Clean
- Free from oil and contamination
- Ready for immediate installation
7. Dispense the Anchoring Adhesive
Prepare the adhesive cartridge and dispensing tool according to the manufacturer’s instructions.
Dispense the adhesive into the drilled hole as directed by the manufacturer, generally working from the bottom of the hole outward so that air pockets are minimized.
The amount of adhesive required will depend on the hole diameter, hole depth, threaded-rod diameter and anchoring system.
Avoid guessing at the required amount.
8. Insert the Threaded Rod
Insert the clean threaded rod into the adhesive-filled hole using the motion specified by the adhesive manufacturer.
Make sure the rod reaches the required embedment depth and remains properly positioned.
Check the amount of threaded rod projecting above the footing before the adhesive begins to set.
Remove excess adhesive from around the top of the hole as necessary.
9. Allow the Adhesive to Fully Cure
Do not load, torque or disturb the newly installed anchor bolt until the adhesive has reached the required cure time.
Cure time can vary based on the adhesive product and job-site conditions, including concrete temperature.
Follow the manufacturer’s current cure-time requirements rather than estimating when the anchor is ready.
10. Install the Light Pole
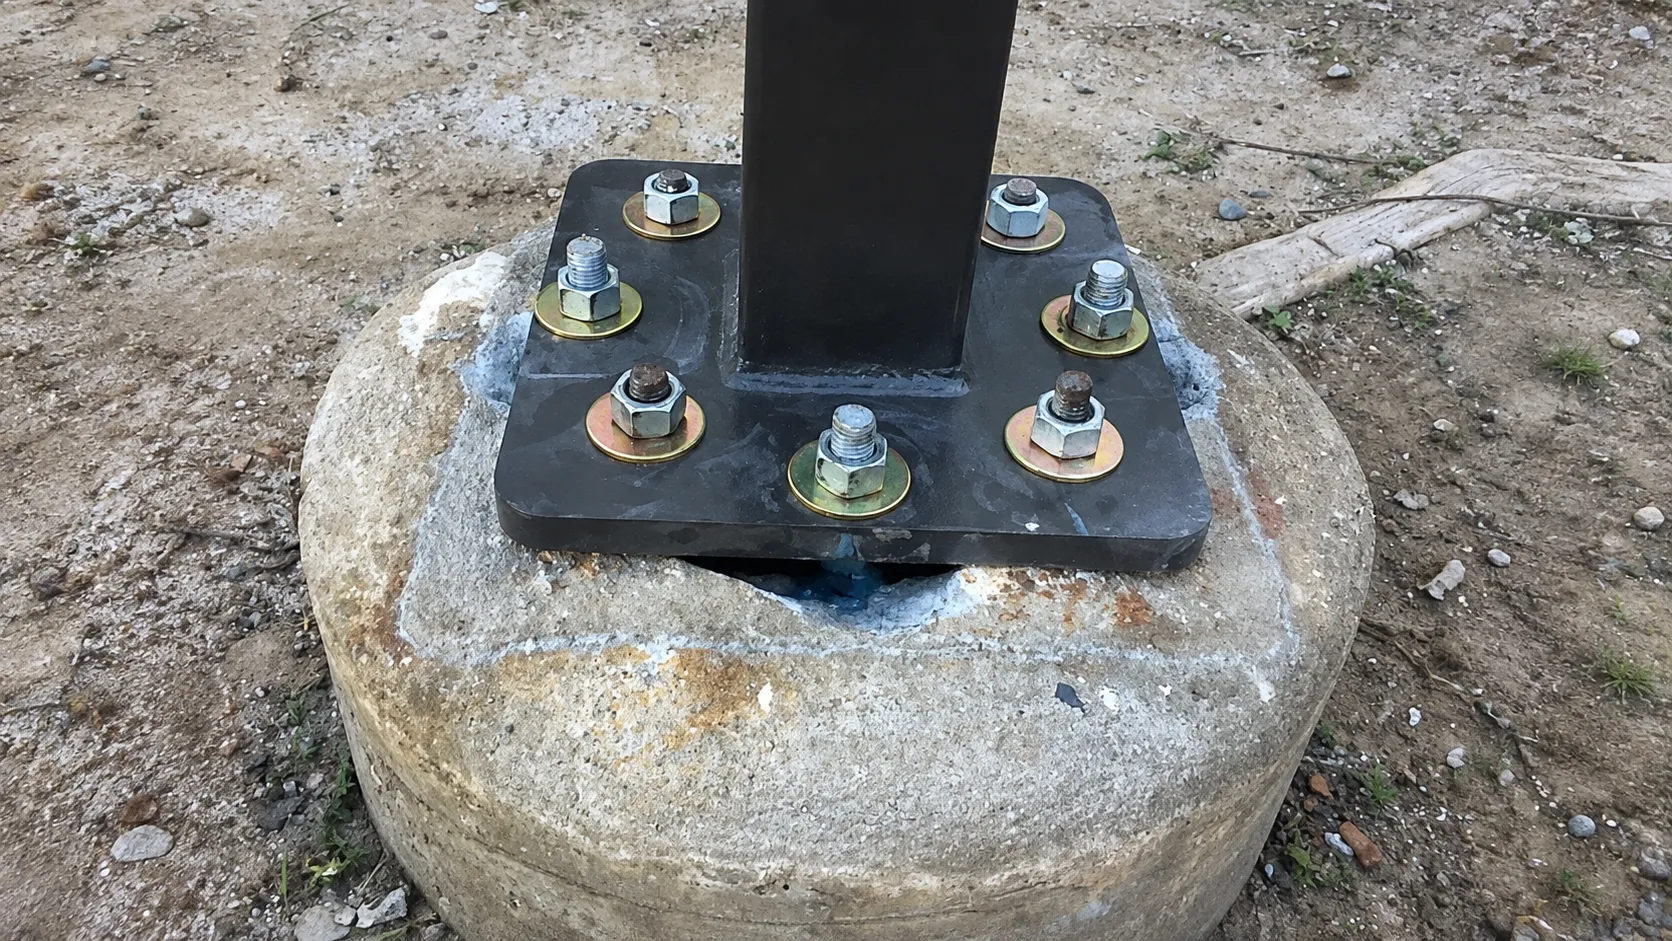
Once the adhesive has fully cured and the anchors are ready for loading, the light pole or required mounting assembly can be installed.
Install the specified washers, nuts, adapter plate and other hardware according to the pole manufacturer, project drawings and engineering requirements.
Verify the pole is properly positioned and leveled before completing the installation.
When mounting the pole, follow proper light pole base plate installation practices, including the required leveling hardware and clearance from the concrete footing.
Why Proper Hole Cleaning Matters
Drilling the hole is only part of installing an adhesive anchor.
The bond between the anchoring adhesive and concrete depends on following the complete installation procedure, including proper hole preparation. Concrete dust left on the inside surface of the hole can affect the performance of the adhesive anchoring system.
That is why the drill, clean, brush and adhesive-installation procedures should be treated as one complete process rather than separate optional steps.
When an Anchor Bolt Adapter May Be a Better Solution
Sometimes the existing anchor bolts are perfectly usable, but the bolt pattern on the footing does not match the base plate of the replacement pole.
In that situation, drilling additional holes and installing new anchor bolts may not be necessary.
The Light Pole Systems Anchor Bolt Adapter is designed to help connect a light pole base to existing anchor bolts when the patterns do not align.
Before modifying an existing footing, determine whether the existing anchor bolts can safely be reused with an appropriate adapter.
What If the Existing Anchor Bolts Are Too Short?
Anchor bolts sometimes have enough structural integrity to remain in service but do not provide enough usable thread above the concrete for the new pole installation.
In those cases, consider whether a Light Pole Systems Thread Extender is appropriate before installing completely new anchor bolts.
Thread Extenders are designed for applications where existing anchor bolts are too short but remain structurally usable.
Watch: How to Drill and Epoxy Light Pole Anchor Bolts
For a visual overview of the drilling and epoxy process, watch our How to Drill and Epoxy Light Pole Anchor Bolts video.
Additional installation and product videos are available in the Light Pole Systems Video Library.
Need Help With a Light Pole Anchor Bolt Problem?
Anchor bolt problems can involve more than one issue: damaged bolts, incorrect bolt patterns, insufficient thread projection, rusted poles, or an existing footing that needs to be adapted for a replacement pole.
Light Pole Systems develops products specifically for these types of light pole installation and repair challenges.
Explore our Anchor Bolt Adapter, Thread Extender, and Pole Repair Kit, or contact Light Pole Systems if you need help determining which solution is appropriate for your application.