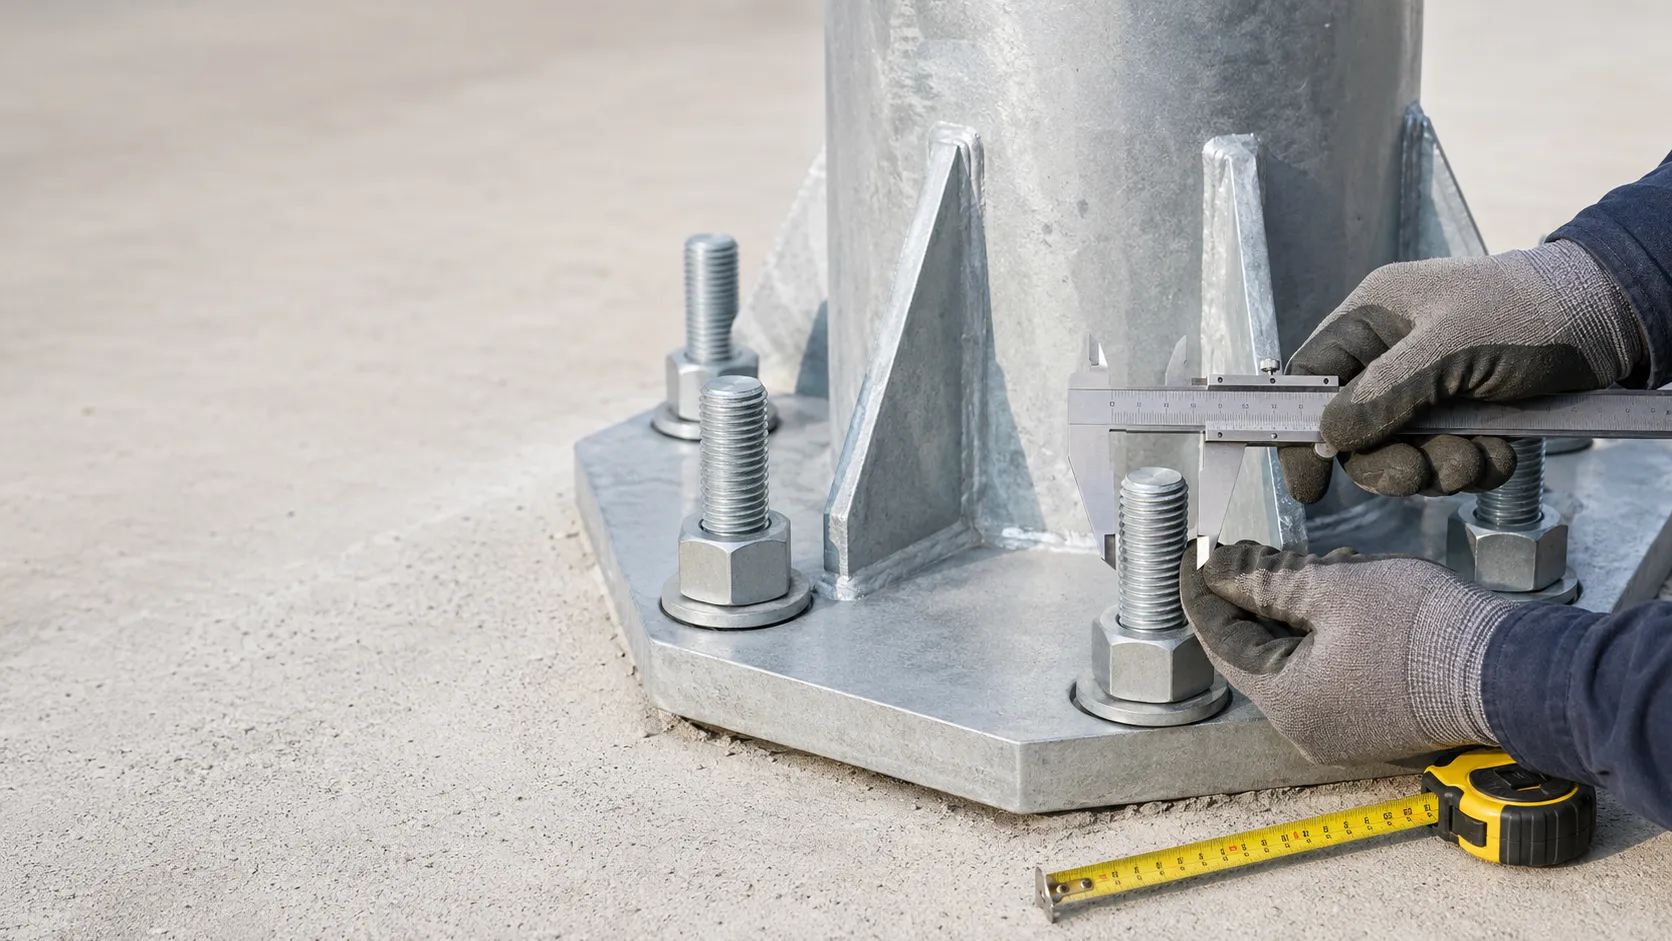
Correctly identifying your light pole anchor bolt size is important when replacing a pole, ordering new hardware, or determining whether existing anchor bolts can be reused.
Anchor bolts are commonly mismeasured because the nominal bolt size does not always match what someone expects to see when measuring the nut or other hardware. Taking the measurement correctly in the field can help prevent ordering mistakes, installation delays, and unnecessary changes.
For many light pole applications, 3/4-inch and 1-inch anchor bolts are common sizes. This guide explains how to measure both anchor bolts and anchor nuts correctly.
Printable Anchor Bolt Measurement Guide
Need this information in the field? Download the printable PDF version of this technical guide.
Quick Tips for Measuring Anchor Bolts
Before taking measurements:
- Clean dirt, rust, concrete, or other debris from the exposed threads.
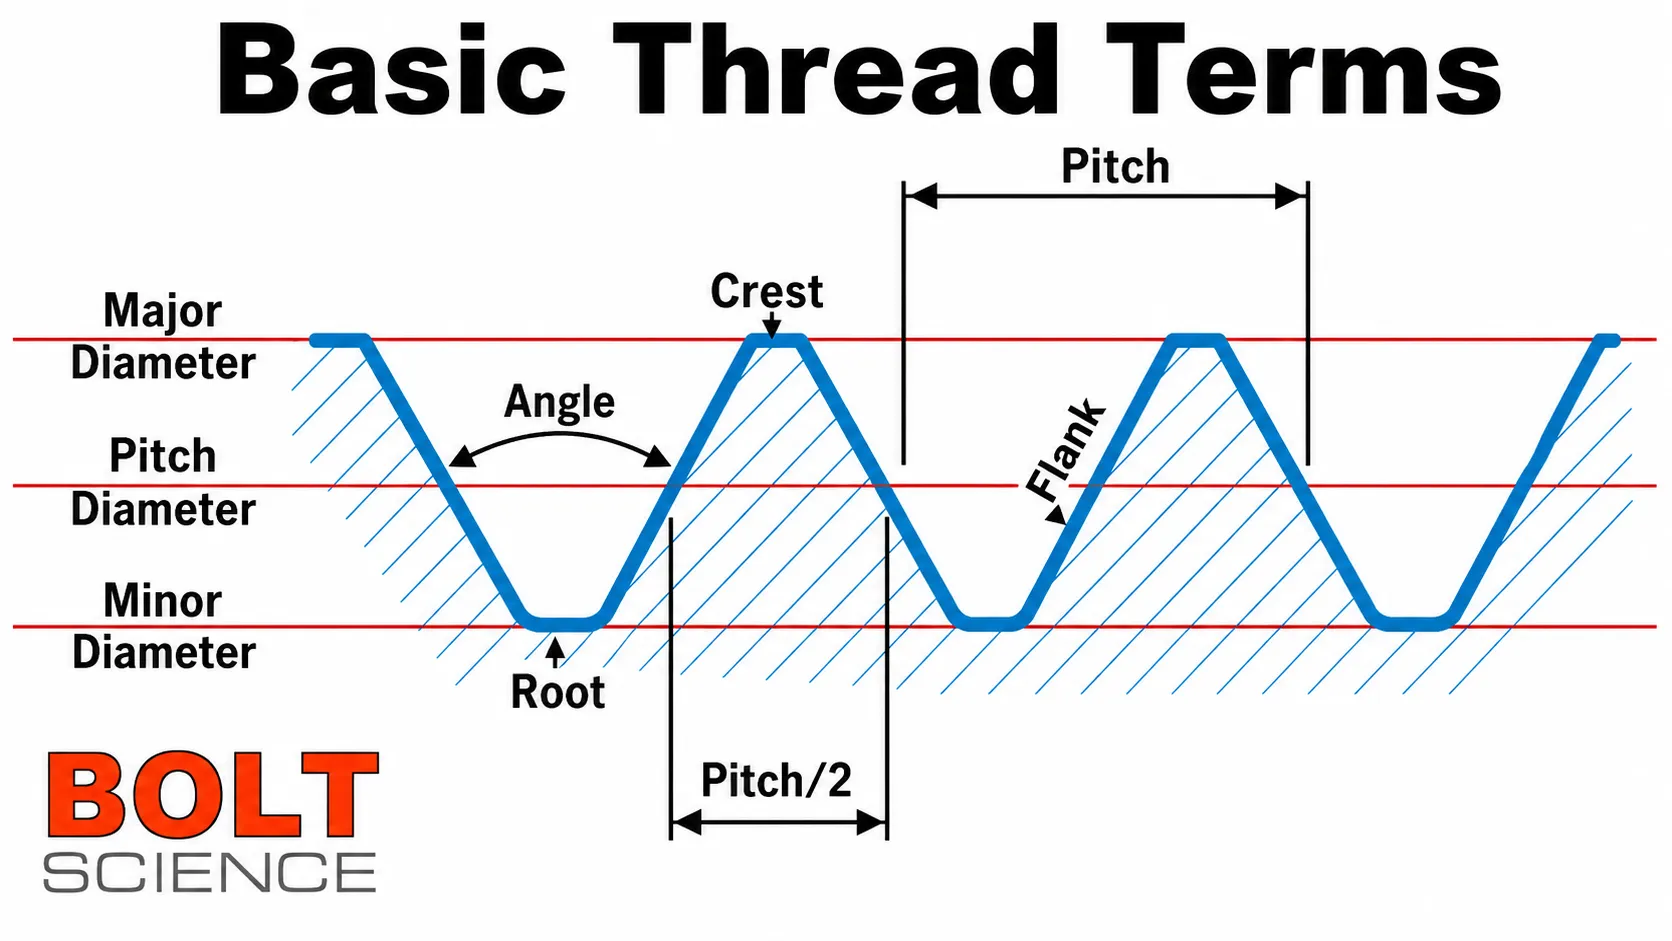
- Measure the outside diameter of the bolt threads, from crest to crest.
- Do not determine bolt size by measuring the outside dimensions of the nut.
- Record measurements directly in the field whenever possible.
- Confirm whether the hardware is galvanized, because galvanizing can affect how the nut fits the bolt.
When replacing a pole, the anchor bolts in the concrete footing connect directly to the pole’s base plate. You can learn more about that connection in our guide to how steel light poles are made.
Common Light Pole Anchor Bolt Sizes
Two common anchor bolt sizes used with light poles are:
- 3/4-inch anchor bolts
- 1-inch anchor bolts
Common Misconception: A measurement that appears to be approximately 5/8 inch may actually indicate a 3/4-inch anchor bolt, while a measurement near 7/8 inch may actually indicate a 1-inch anchor bolt. True 5/8-inch and 7/8-inch light pole anchor bolts do exist, but they are extremely rare. Make sure you are measuring across the outside diameter of the threads and not misreading the thread diameter.
Standard thread pitches commonly associated with these sizes are:
- 3/4″-10 – 10 threads per inch
- 1″-8 – 8 threads per inch
Other anchor bolt sizes may exist, particularly on larger, older, or specialized poles. Do not assume the size based only on the appearance of the pole or footing.
Always verify the actual bolt in the field.
How to Measure an Anchor Bolt
To determine an anchor bolt’s nominal diameter, measure across the outside of the threads.
Step 1: Clean the Threads
Remove dirt, rust, concrete residue, or other debris that could interfere with the measurement.
The measurement should be taken from clean, usable threads whenever possible.
Step 2: Measure the Outside Diameter
Measure directly across the threaded portion of the bolt from the crest of one thread to the crest of the opposite thread.
For example:
- A 3/4-inch anchor bolt should measure approximately 3/4 inch across the outside of the threads.
- A 1-inch anchor bolt should measure approximately 1 inch across the outside of the threads.
A caliper provides a more precise measurement, but measurements may also be taken carefully in the field using an appropriate measuring tool.
Step 3: Check for Tapering or Damage
Some anchor bolts may be tapered, worn, rusted, or damaged near the exposed end.
If the end of the bolt appears smaller than expected, measure a section of clean, usable thread rather than relying only on the tip.
Step 4: Record the Size in the Field
Write down the bolt size while you are at the job site.
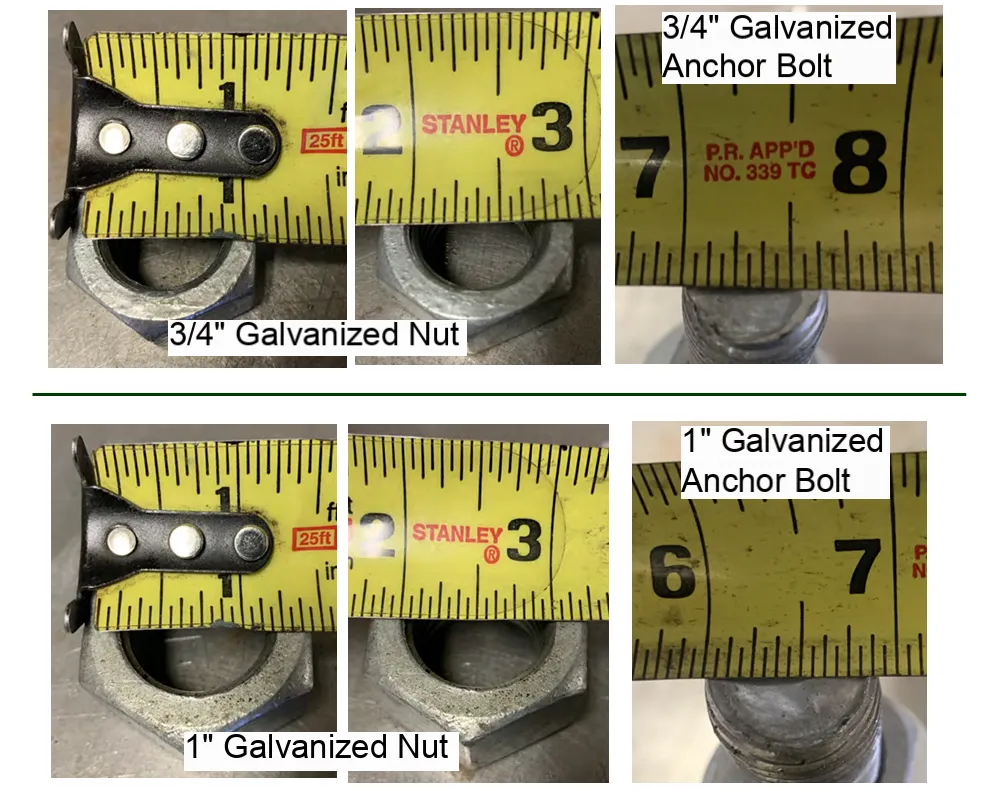
Photos can be helpful for reference, but a photograph of a tape measure next to a bolt should not replace an accurate field measurement when selecting hardware.
Watch: How to Clean and Repair Rusted Anchor Bolts
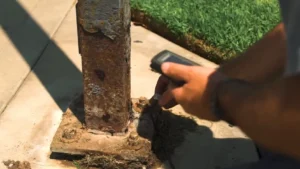
Rust, damaged threads, and corrosion can make anchor bolts more difficult to measure and reuse. This video demonstrates how Light Pole Systems cleans and repairs rusted anchor bolts in the field.
For detailed field instructions, see our guide to removing rusted anchor nuts from light pole anchor bolts.
Write down the bolt size while you are at the job site.
Photos can be helpful for reference, but a photograph of a tape measure next to a bolt should not replace an accurate field measurement when selecting hardware.
How to Measure an Anchor Nut
Anchor nuts can create confusion because the dimensions of the nut itself are not the same as the nominal bolt diameter.
A nut designed for a 1-inch anchor bolt, for example, is physically larger than 1 inch when measured across its outside dimensions.
What matters is the bolt size that threads into the nut.
Step 1: Clean the Nut
Remove dirt, rust, or other debris from the nut and its internal threads.
Step 2: Remove the Nut When Possible
If possible, remove one of the nuts so the internal threaded opening can be inspected and measured more easily.
Step 3: Identify the Threaded Opening
You are trying to determine the nominal diameter of the bolt that fits the nut, not the overall outside width of the hex nut.
The root of the internal threads may also be visible from the top of the nut.
Step 4: Confirm the Measurement in the Field
Record the nut and bolt information while on site.
Do not rely exclusively on photographs after leaving the job site, especially when ordering replacement hardware.
Watch: How to Remove Rusted Anchor Nuts
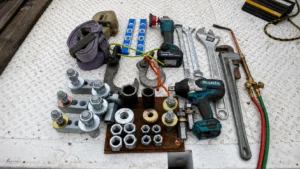
Anchor nuts exposed to weather and corrosion can become difficult to remove. Watch this Tech Tip for a practical demonstration of removing rusted anchor nuts from an existing light pole foundation.
Galvanized Anchor Bolts and Nuts
There is an important difference between the physical dimensions of the hardware and its nominal size.
The outside diameter of a bolt and the inside diameter of its corresponding nut will not necessarily produce identical measurements because the two components need enough clearance to thread together.
Galvanizing adds thickness to the surface of the anchor bolt. Galvanized anchor nuts are intentionally oversized to accommodate the thickness of the galvanized coating on the corresponding bolt. This is normal and should be considered when identifying or replacing galvanized anchor bolt hardware.
For this reason, make sure replacement nuts and other hardware are compatible with the anchor bolts already installed.
Why Correct Anchor Bolt Measurements Matter
Accurate anchor bolt measurements become especially important when replacing an existing light pole.
The new pole’s base plate must work with the existing anchor bolt size and bolt pattern.
Sometimes the anchor bolt diameter is correct, but the bolt pattern does not match the new light pole base. In these situations, an Anchor Bolt Adapter may allow the existing footing to be used while adjusting the bolt circle, rotating the pattern, or moving the pole position.
If the existing anchor bolts are structurally usable but too short, a Thread Extender may provide additional usable length without replacing the footing.
For unusual or mismatched bolt layouts, Light Pole Systems also manufactures Custom Adapter Plates designed around specific footing and pole-base bolt patterns.
Anchor Bolt Size Is Only Part of the Measurement
Knowing whether the anchor bolts are 3/4 inch or 1 inch is important, but it is not the only measurement required when replacing a light pole.
You may also need to confirm:
- Anchor bolt diameter
- Thread condition
- Exposed usable thread
- Number of anchor bolts
- Bolt circle or bolt square
- Pole base-plate dimensions
- Anchor bolt condition
- Existing footing condition
Do not assume that two poles using the same anchor bolt diameter automatically use the same bolt pattern.
How to Measure a Light Pole Bolt Pattern
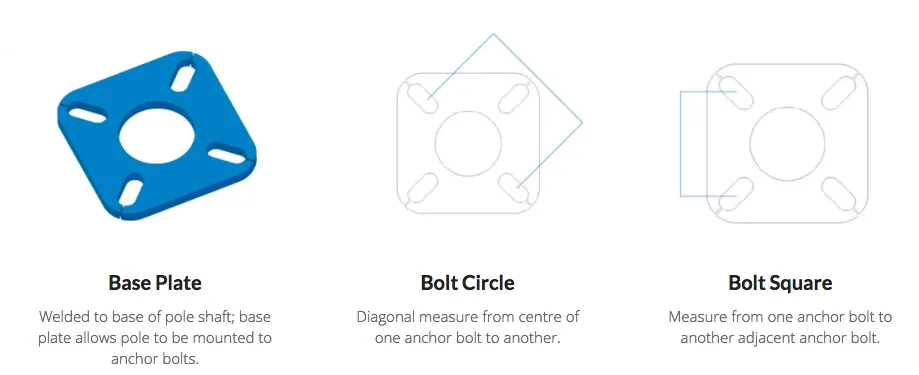
The bolt pattern determines how the anchor bolts are positioned within the concrete footing. When ordering a replacement light pole, you need to identify not only the anchor bolt diameter but also the existing bolt pattern.
For complete measurement instructions, see our guide to light pole bolt patterns, including bolt circle vs. bolt square.
Depending on the configuration, the pattern may be specified as a bolt circle or a bolt square.
A bolt circle describes the diameter of the imaginary circle passing through the center of the anchor bolts. A bolt square describes the center-to-center spacing between adjacent anchor bolts arranged in a square pattern.
Correctly identifying the bolt pattern is important when ordering a replacement light pole or determining whether an Anchor Bolt Adapter is required.
Watch: How to Measure Light Pole Bolt Patterns
Watch this Tech Tip for a visual explanation of how to identify and measure bolt circle and bolt square configurations in the field.
Before Ordering Replacement Hardware
Before ordering a light pole, adapter, thread extender, or replacement hardware, verify the measurements at the actual installation location.
Whenever possible, document:
- Anchor bolt diameter
- Thread pitch
- Usable exposed thread
- Bolt pattern
- Pole base-plate dimensions
- Condition of the existing hardware
Accurate field information makes it much easier to determine which solution is appropriate for the installation.
Once the existing foundation measurements are documented, review how to order a light pole to understand the other specifications needed for replacement.
Need Help With an Anchor Bolt Problem?
Light pole anchor bolt problems are not always solved by replacing the entire footing.
Depending on the condition and configuration of the existing anchor bolts, solutions may include an Anchor Bolt Adapter, Thread Extender, or a Custom Adapter Plate.
For additional installation information and field guidance, visit the Light Pole Systems Tech Tips & Blog.