Tech Tip: Installing new anchor bolts into an existing footing.
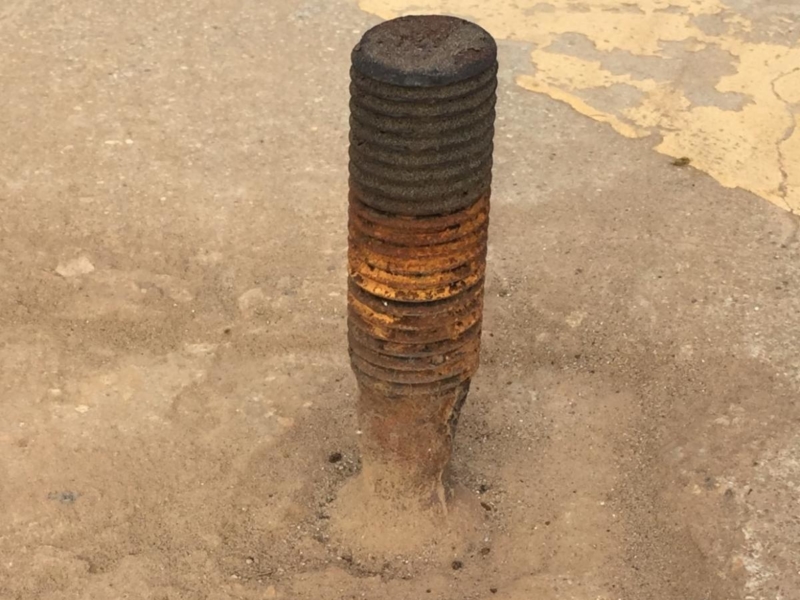
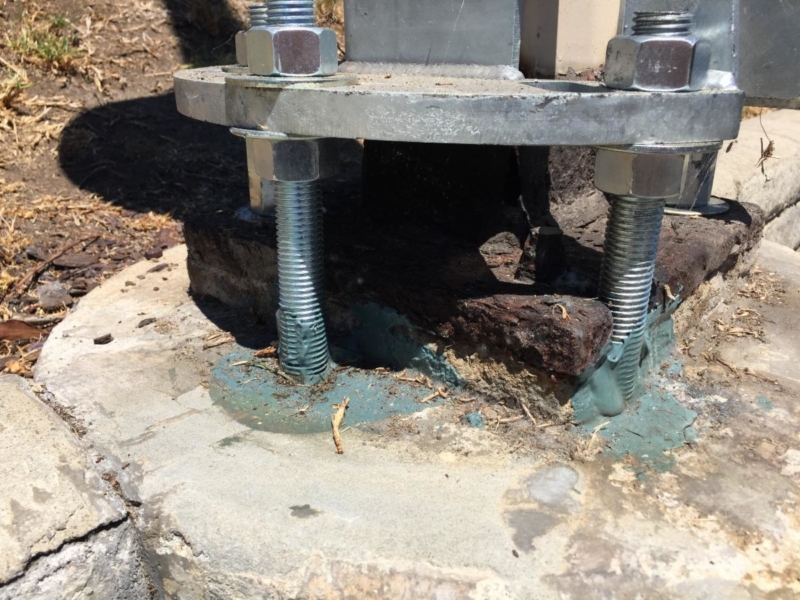
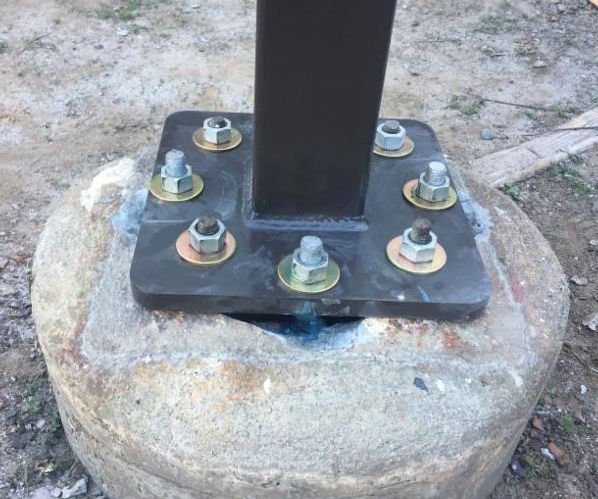
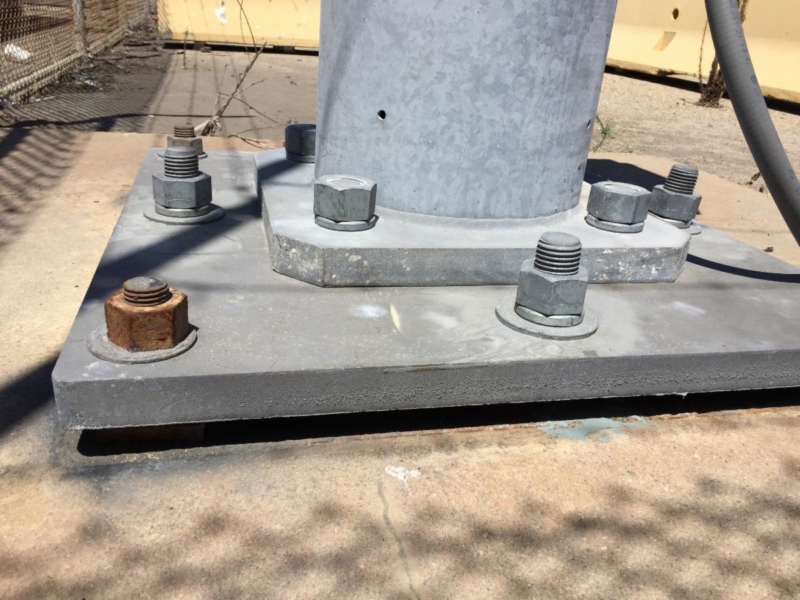
Most anchor bolts are galvanized, but even Hot Dip Galvanized bolts will rust if not properly maintained. When bolts rust or are damaged, new bolts can be installed offset from the original pattern. A custom base plate or rotated pole will fit on the new pattern. When replacing large or old poles, custom base plates can be extremely expensive. In that case, new anchor bolts are installed with an adapter plate to tie the new pole to the existing and new bolts.
Tool required:
- Hammer Drill
- Drill bit for anchor bolt size.
- +1/8″ larger than bolt size is common.
- Shop Vac
- Dust Extraction Attachment is highly recommended for more than a few holes.
- Air Compressor with nozzle long enough to reach bottom of hole
- Round firm bottle brush to Snuggly fit into hole.
- Epoxy specific for Threaded rod into concrete.
- We like Simpson Strong-Tie Set-XP Epoxy.
- Do not use the Fast Setting variety for this application.
- Larger tubes are available but not cost effective due to excess waste.
- Epoxy Dispensing Tool
- Specific for epoxy cartridges. A conventional caulk gun is not strong enough.
Safety equipment: Glasses, Gloves, Mask
Clean up Equipment: Paper towels or disposable rags, Trash Bag.
Parts Required:
- All-Thread Rod
- Allow 18″ per hole for up to 1″ bolts. See epoxy manufacture for exact depth requirements. See Page 3. of Simpson Stong-Tie Literature
- (2) Nuts Per Hole
- (2) Washer Per Hole
Overview of Drilling and Epoxying an Anchor Bolt:
- Gather tools and materials. Double check drill size for anchor bolt size per epoxy manufactures specifications.
- Clean debris from pole base.
- Mark locations for holes.
- Drill holes into footing as deep as possible to still maintain proper thread projection. Minimum embedment for 3/4″ rod is 3-1/2″. We go to 12″ on average. See Page 3. of Simpson Stong-Tie Literature for details. Use a strong template or shallow pilot hole to prevent the bit from walking when starting hole. Using vacuum with dust extraction attachment during drilling will greatly reduce airborne dust and debris in the hole.
- Blow debris out of holes with high pressure air compressor and nozzle reaching bottom the holes. Use vacuum and dust extractor here as well.
- Brush walls of holes with round brush to remove any loose bits of concrete.
- Repeat steps 6&7 until no more concrete dust comes out of the holes. Be sure to check all holes when complete. Debris will fall into clean holes.
- Cut all thread rod to proper length. Measure with rod touching the bottom of the hole to ensure correct thread projection.
- Fill holes approximately 75% of the way with epoxy, starting from the bottom. It is better to overfill the hole and have excess epoxy than not have enough.
- Insert the all thread rod into the hole, spinning it counter-clockwise into the hole. This will help push epoxy into the hole and remove any air pockets.
- Clean off excess epoxy if needed.
- Let epoxy set for manufacture’s recommendations.
- Install light pole like a normal anchor bolt.


